Christmas aisles have been calling my name recently, and I've been savoring the decorations and ornaments I don't really need. A few cute decorations are just too tempting to pass up. I started to think about crafty DIY ornament decor ideas and wondered whether I could make my own Christmas decorations to add to the tree instead of buying new ones every year.
If you're looking for more unique Christmas decorations to make, check out our tutorials for:
Pom Pom Christmas Ornaments
How To Make A Snowglobe
Easy Christmas Ornament For Kids
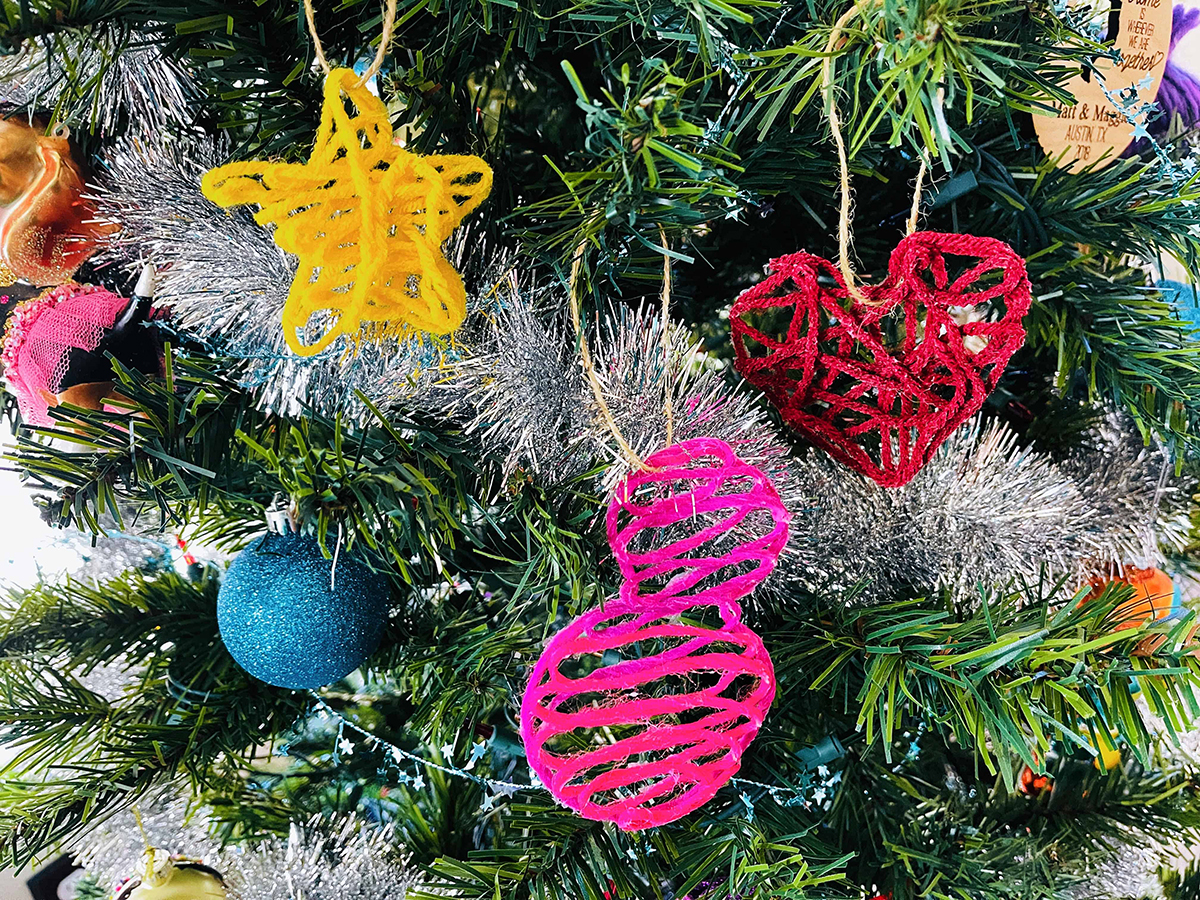
How to make DIY ornaments for the Christmas tree:
These DIY kids ornaments were inspired by One Little Project.
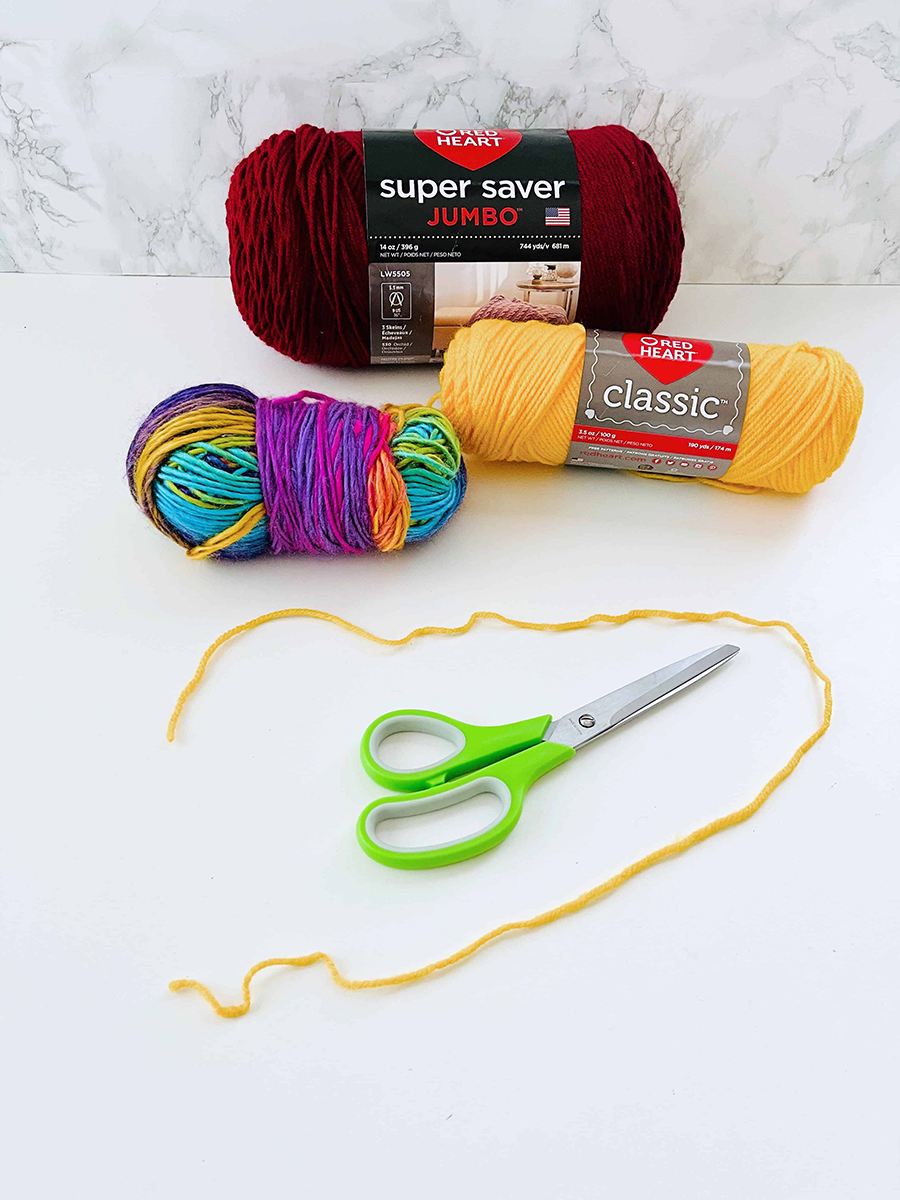
Supplies:
- Yarn
- White Glue
- Pencil
- Biodegradable Paper Plates
- Putty Knife (or butter knife)
- Sewing Pins
- Scissors
- Wax Paper
- Ribbon or Twine
- Printable Template (optional)
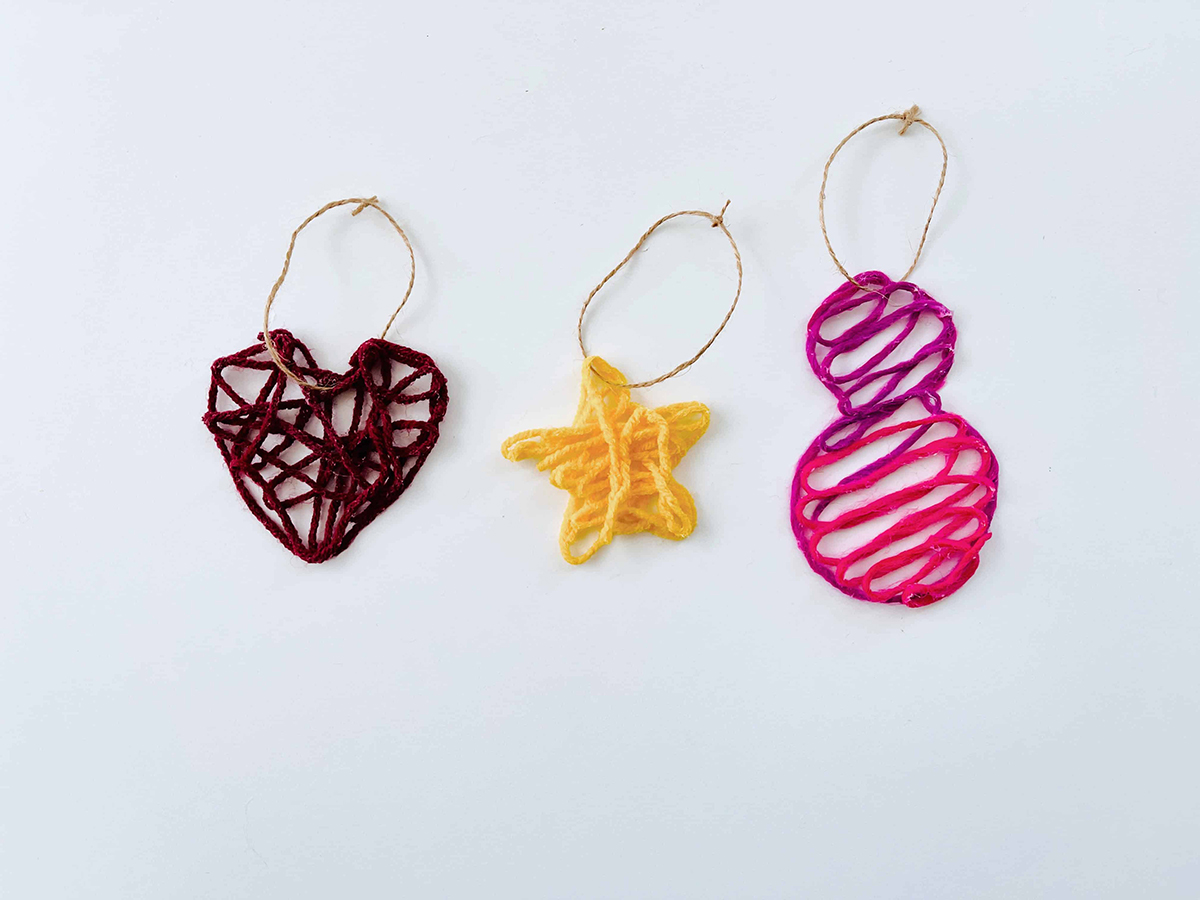
We opted for basic shapes like stars, hearts, and snowmen when making our crafty DIY ornaments for the Christmas tree. Elaborate snowflakes, for example, take longer to make and are more challenging because of their complexity. I've also seen people use cookie cutters to create their ornaments for this project. For those of you who don't know what shapes you want to use, we've supplied a template for you to download below.
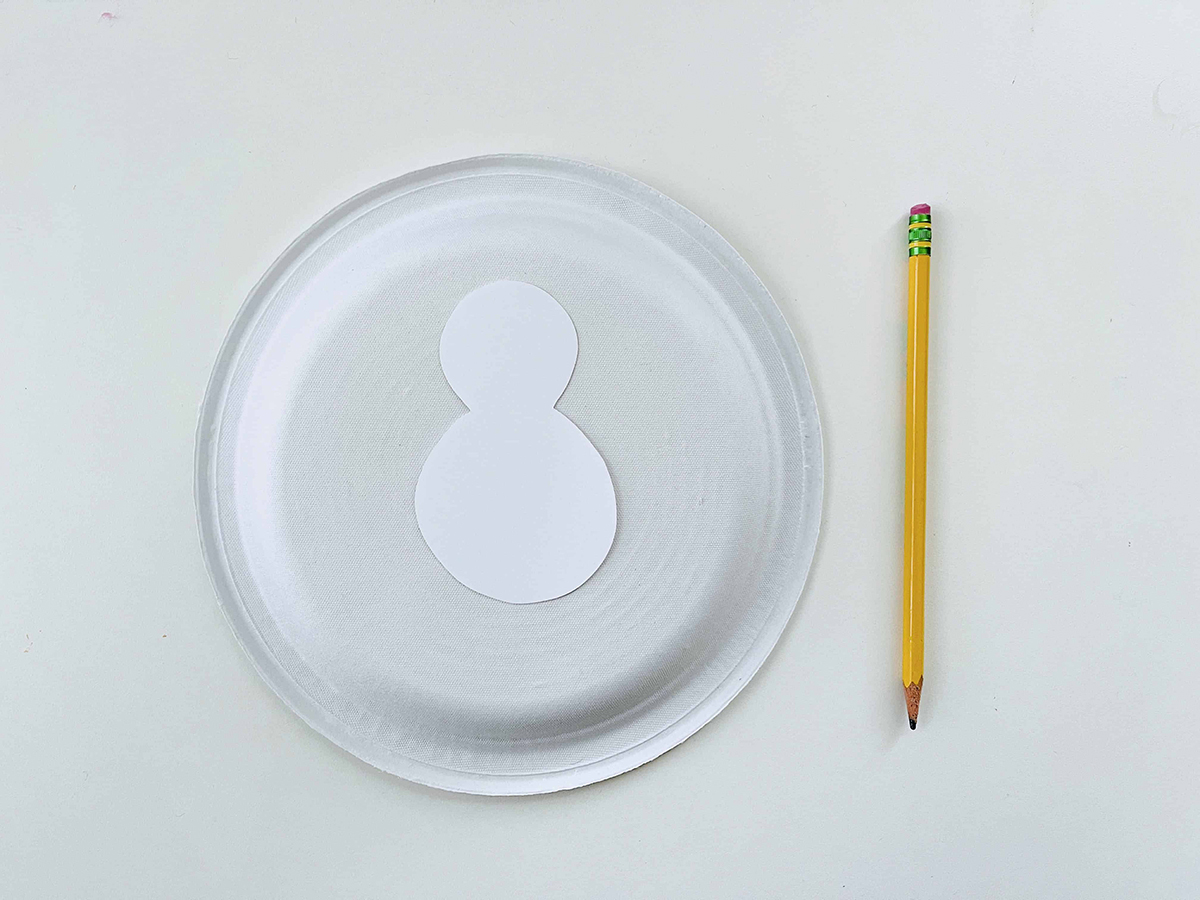
Step 1: Draw your ornament shapes
Trace your shape onto your paper plate. The original DIY ornaments tutorial used Styrofoam trays for making Christmas tree ornaments, but I chose to use biodegradable plates since we're trying to be more environmentally conscious. You may be able to fit two ornaments on each plate, but three is too many since you need space to move about and mold the yarn into position.
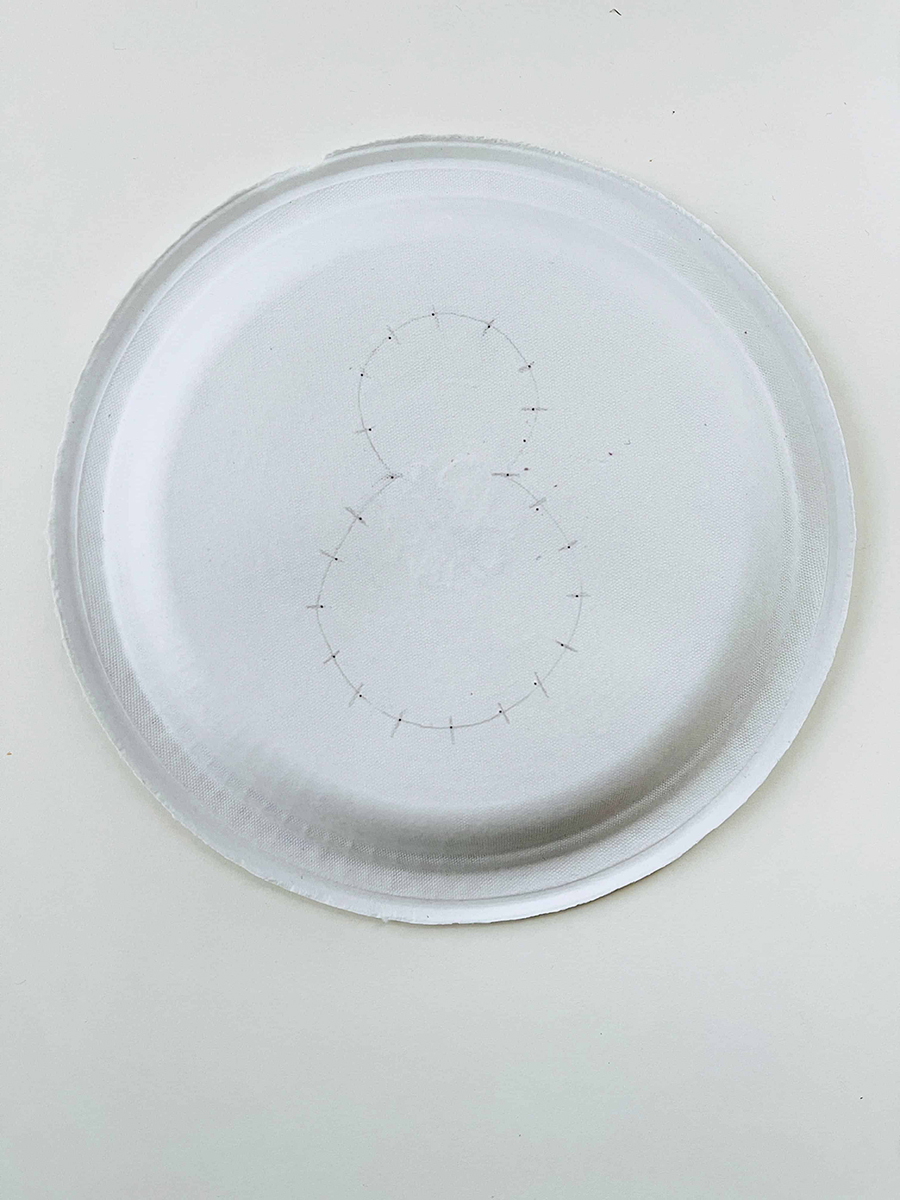
Step 2: Mark Christmas tree ornaments with spacers
Mark 1/2 inch gaps around your ornament.
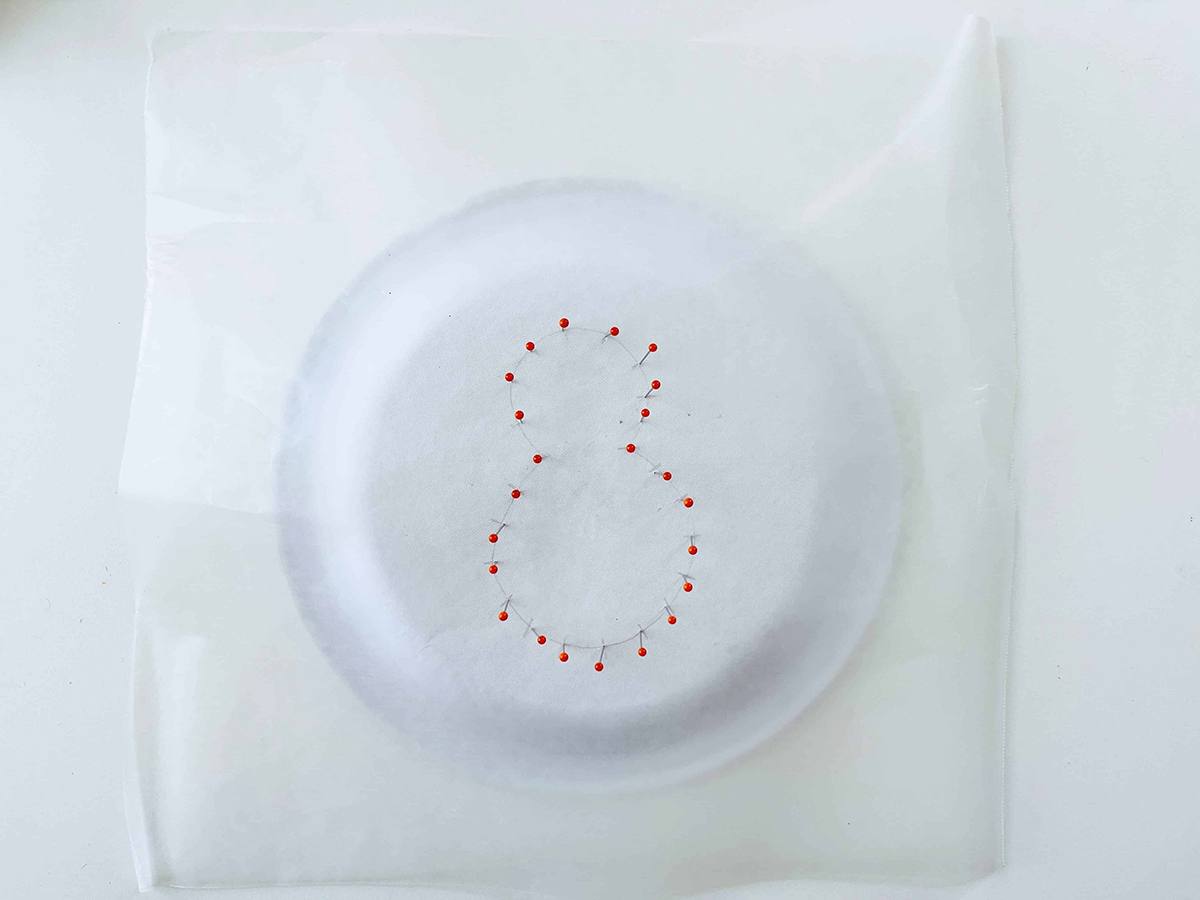
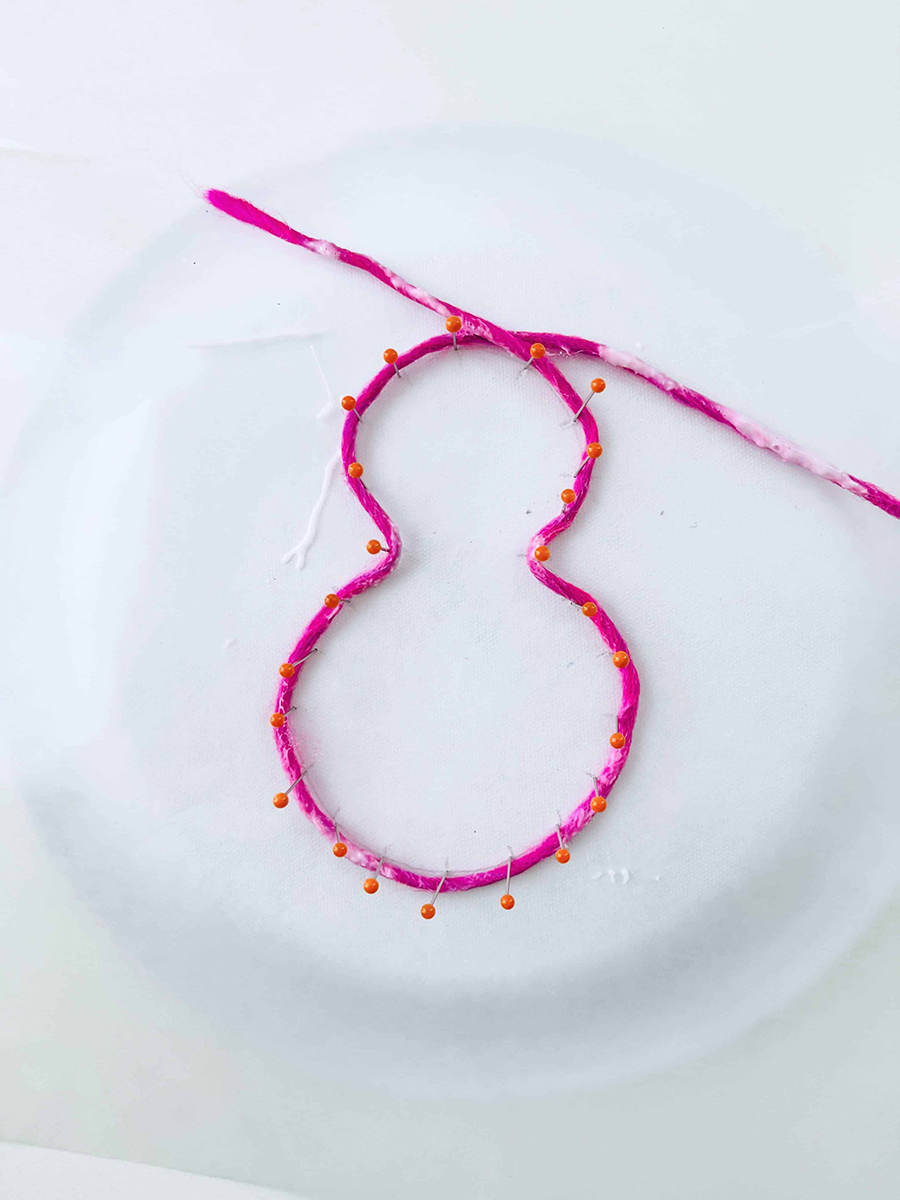
Step 3: Cover with wax paper and pin around your ornaments
Cover your paper plate with wax paper. The wax paper makes it easier to remove your ornament when the glue dries. Next, Insert your sewing pins into each one of the 1/2 inch marks you drew around your DIY ornament. I wouldn't recommend using your best sewing pins for this craft because it will be difficult to remove the dried glue at the end.
Step 4: Cut yarn into manageable pieces
For each DIY Christmas tree ornament, cut 2-3 strands of yarn into 24-inch lengths. The longer the pieces are, the more difficult they are to work with when covered in glue. Things become a lot messier at this stage, so make sure to cut your yarn pieces before moving on to the next step.
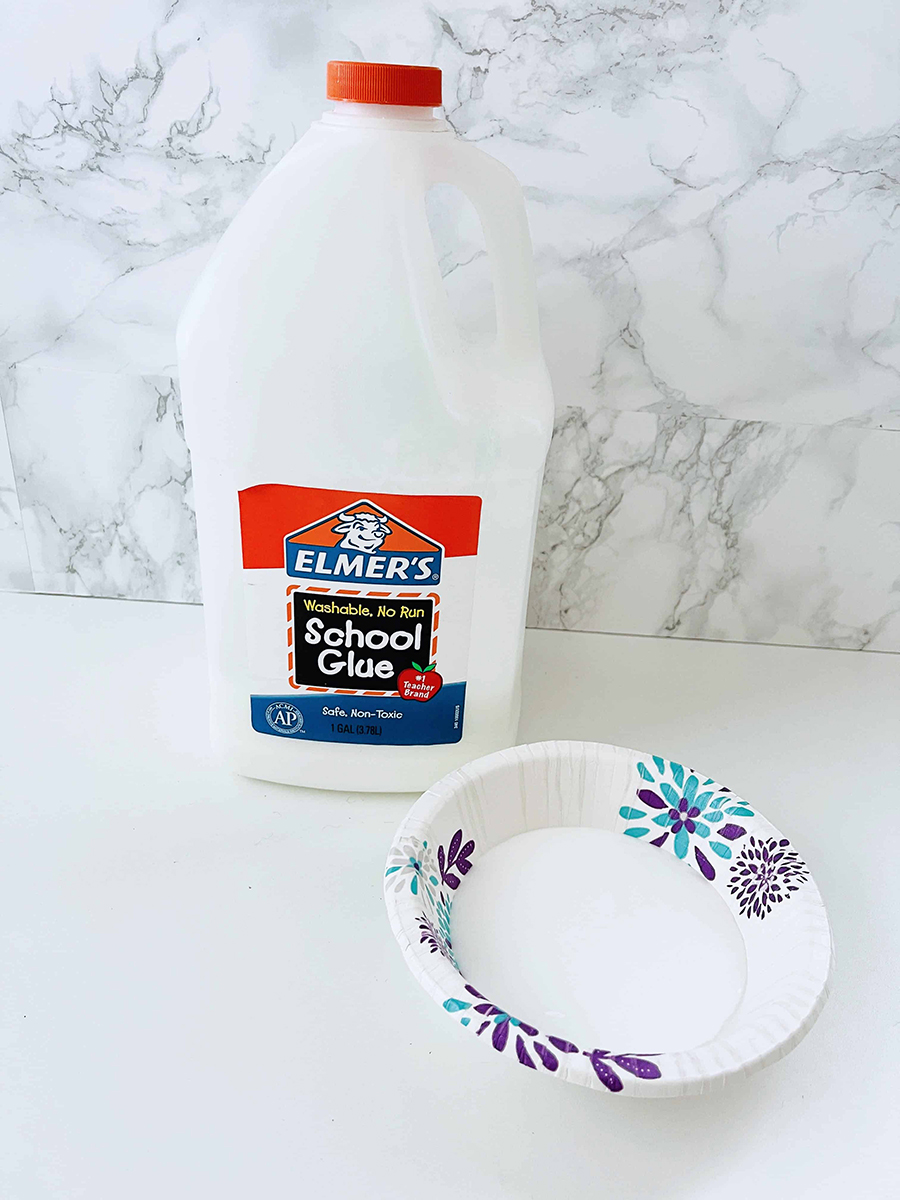
Step 5: Pour glue into a bowl
Pour some white glue into a bowl. We get crafty making DIY ornaments a lot, so the 1-gallon jar of glue we had on hand was perfect for our project. Use a 2-ounce container of white school glue to get started. You can always add more if you run out.
Step 6: Dip yarn into the glue
Dip each piece of yarn into the glue one at a time.

Remove any excess glue by running each piece of string through the prongs of a plastic fork.

Step 7: Wrap yarn around the DIY ornament
Wrap the glue-soaked yarn around the pins in order to outline the basic shape first. Then, wrap the yarn around the pins from one side of the ornament to the other. Wrap the yarn around all of the pins at least once if possible. String the first piece of yarn into place, repeat the process with the second piece and continue wrapping it randomly across the ornament around the pins.
When you're happy with the way your ornament looks, tuck the end of the yarn someplace discreet.

Step 8: Push the yarn down with your fingers
Next, push the yarn down to the bottom of the plate with your fingers. Make sure all the layers of yarn are touching each other to make sure that the layers of yarn stick nicely to one another when they dry. Your ornament will be more durable because all of the yarn layers will be touching.
Step 9: Let your crafty Christmas tree ornaments dry overnight
Allow your ornaments to dry for 24 hours so that the glue has a chance to fully harden.
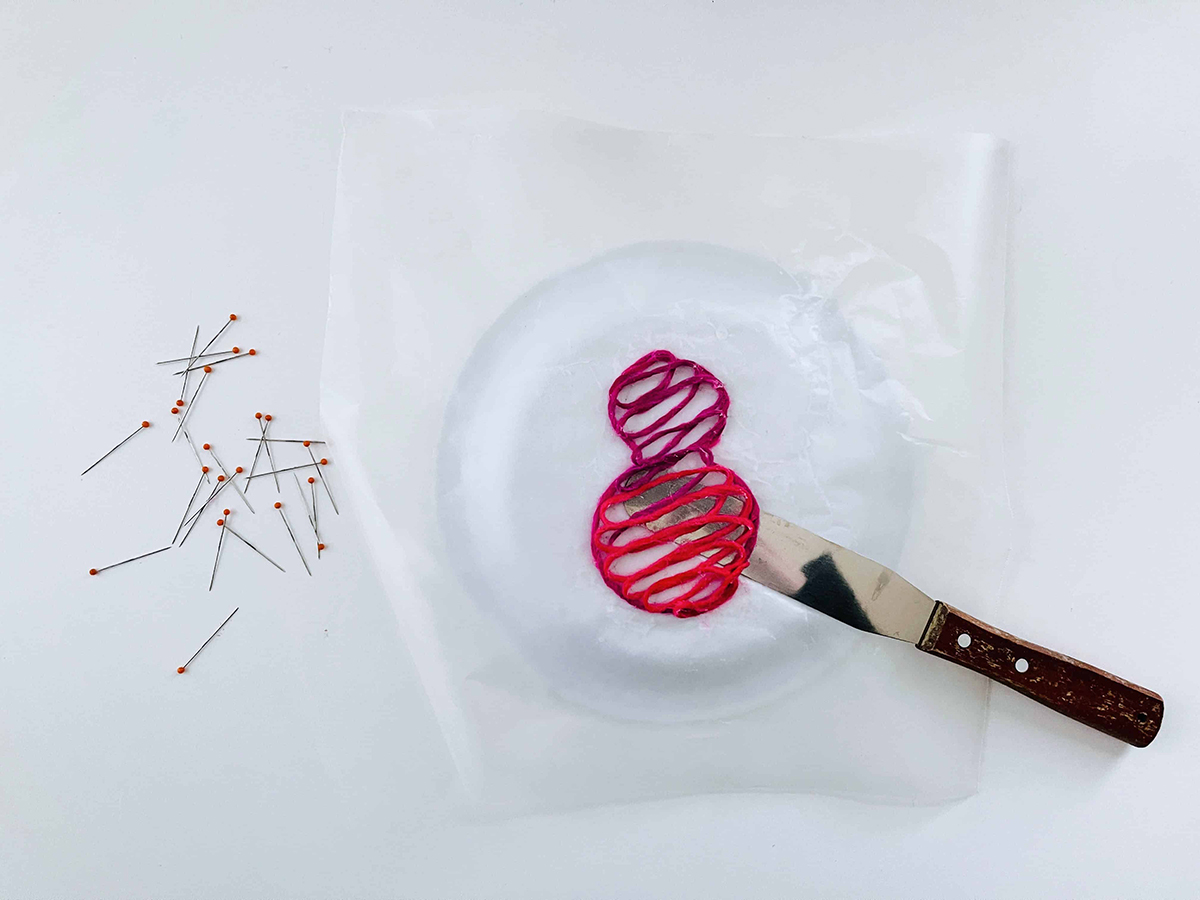
Step 10: Remove the pins and loosen the ornaments
When the yarn is completely dried and solid to the touch, remove the pins. You'll need to twist the pins a little bit to remove them because they'll be stuck in the hardened glue. Once all of the pins have been removed from the ornament, use a flat knife to release the ornaments from the wax paper.
Step 11: Add ribbon or twine to you DIY Christmas tree ornament
Tie on some ribbon or string to transform them into Christmas ornaments.
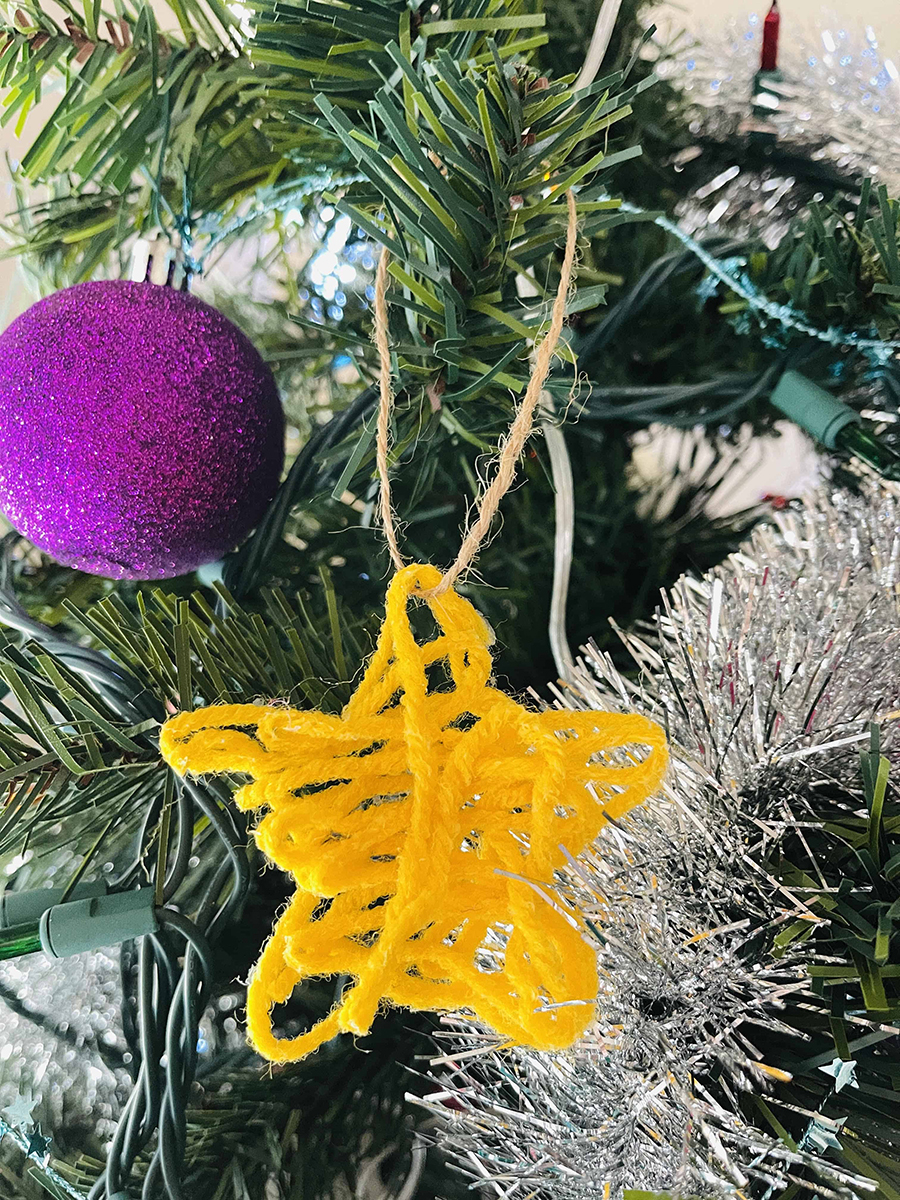
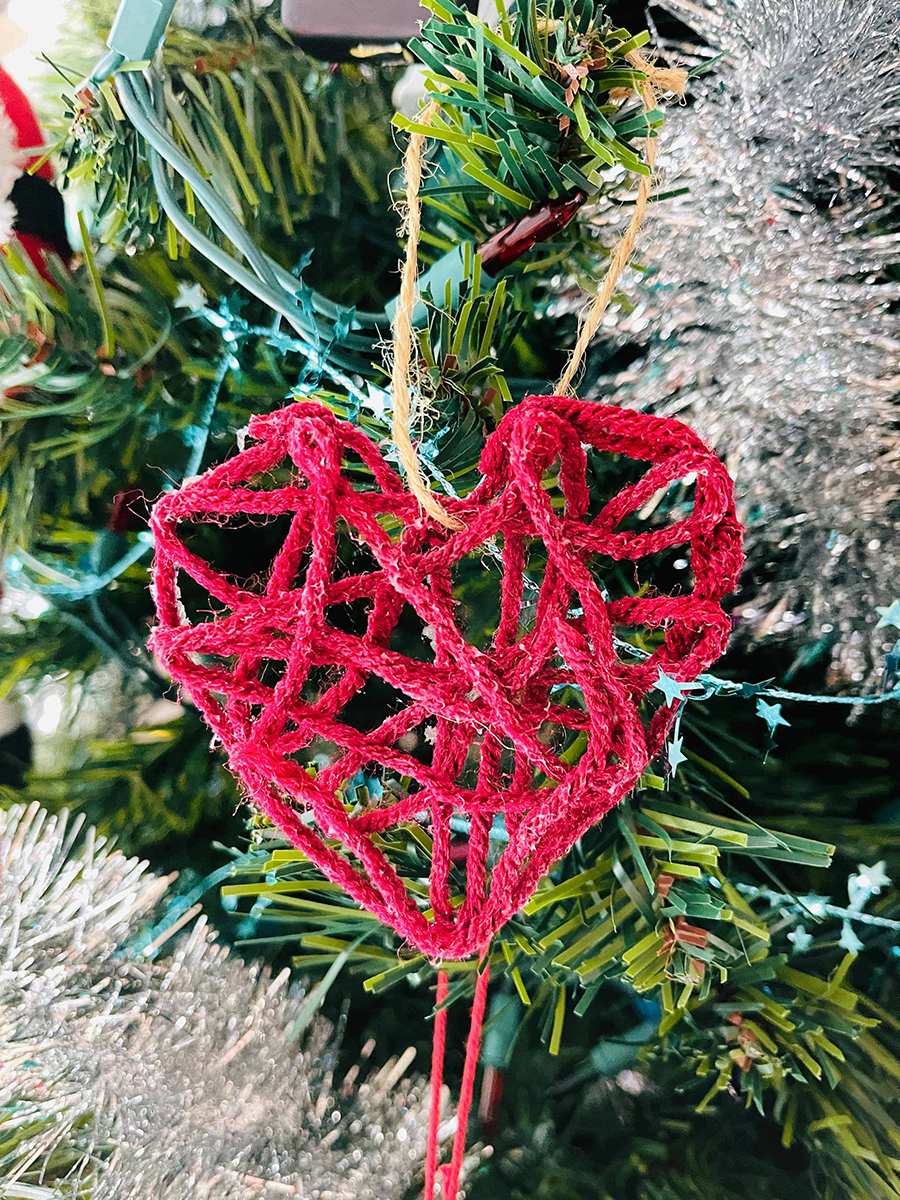
We hope you enjoyed this fun DIY ornament project. Be sure to join our e-mail list for more DIY Christmas tree decor ideas and other crafty family time projects to do together.