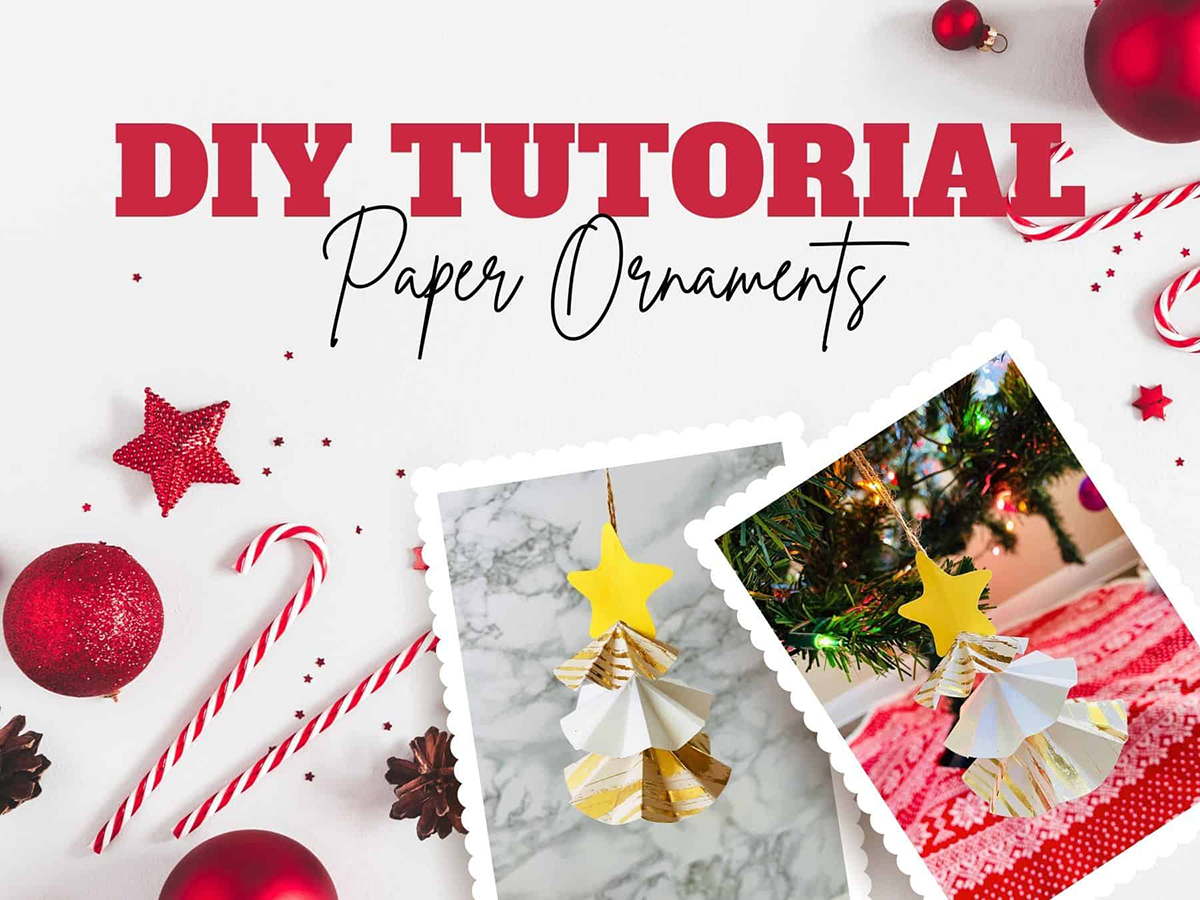
The Christmas season is here! If you're looking for instructions on how to create paper Christmas tree decorations, you've come to the right place. This article will teach you how to make a gorgeous paper Christmas tree ornament, along with a template for you to use. So if you're looking for a meaningful present for someone, this ornament is a great option, and your kids can help make them too!
These adorable little paper Christmas tree ornaments are the perfect way to recycle unused gift wrapping and finally use that scrapbooking paper you've been saving to good use.

Supplies:
- Scissors
- Twine
- Hot Glue Gun
- Colorful Sheets of Paper
- Safety Pin
- Pencil
- Plastic Cup or Printed Template

How To Make Paper Christmas Tree Ornaments
Step 1: Print your paper Christmas tree template and cut out your circles
Download and print the free template. The PDF includes three different circle sizes as well as a star to add to the top of your paper Christmas tree. Trace and cut your circles out of festive paper. If you don't want to download the template you can also use a plastic cup as a guide for drawing your tree circles.

Step 2: Fold circles
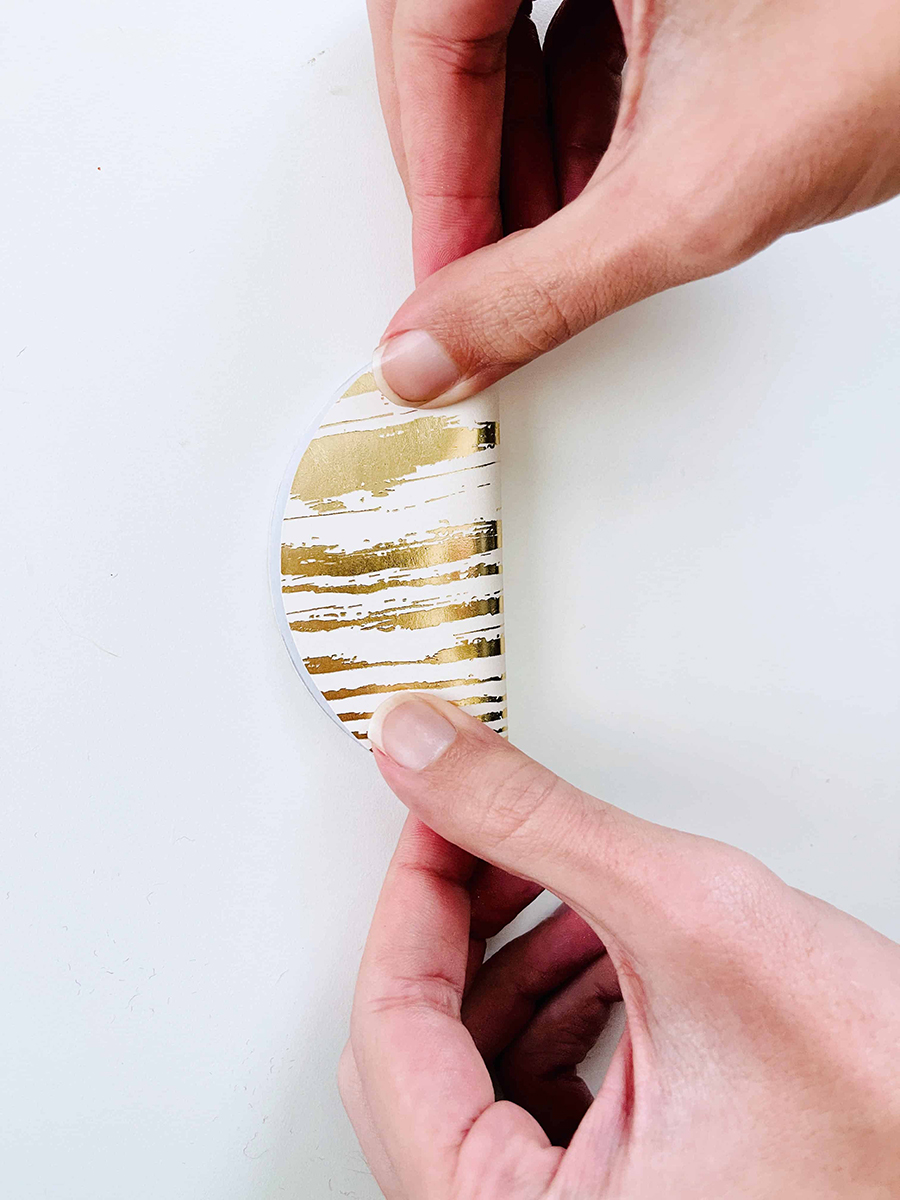
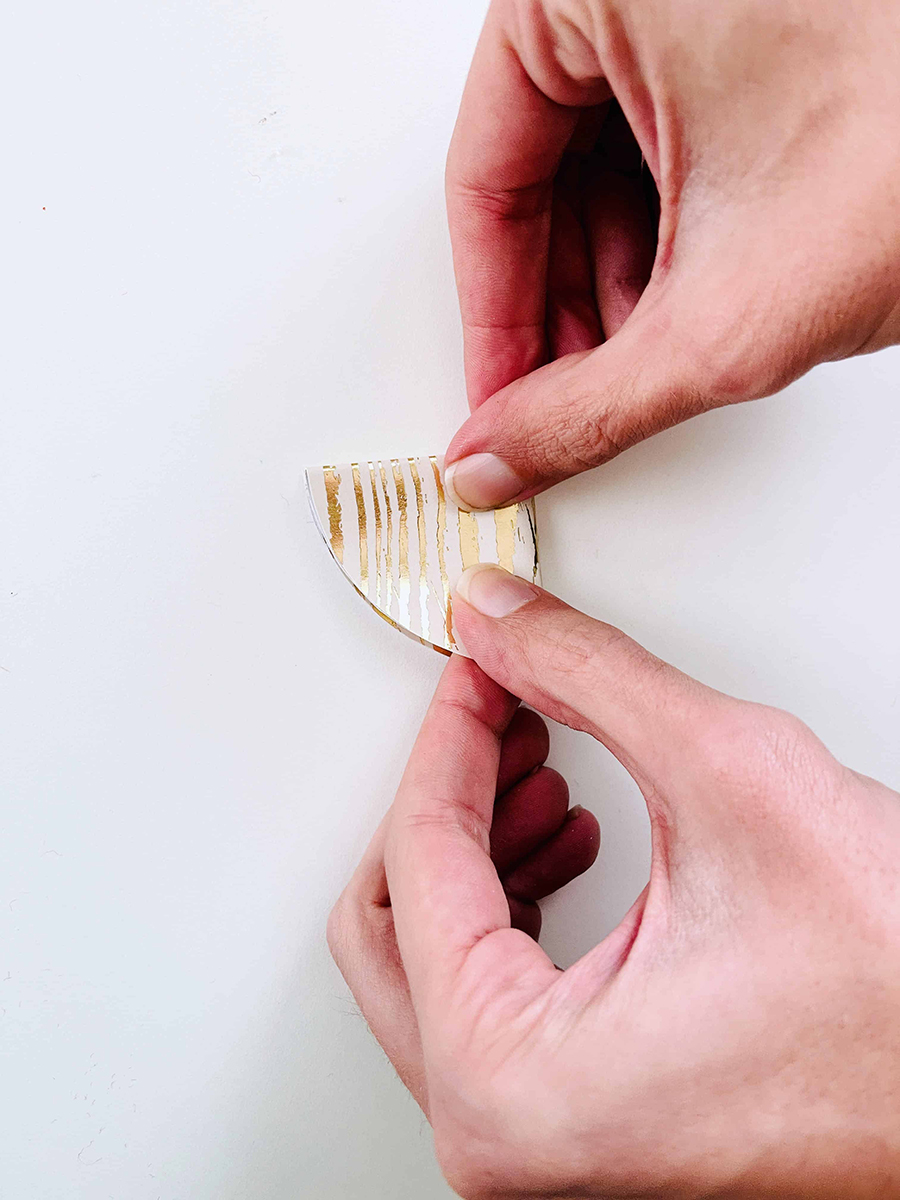
When making your paper tree, follow the mountain fold lines in the template. You'll notice that you need to fold your paper circle ornament eight times. Start by folding your circles in half, then keep folding them in half until you've done it eight times total.
Step 3: Poke a hole and thread twine
You'll also need a safety pin or something similar with a pointed end to make a hole at the top of each circle.

Then, thread your string through the hole.

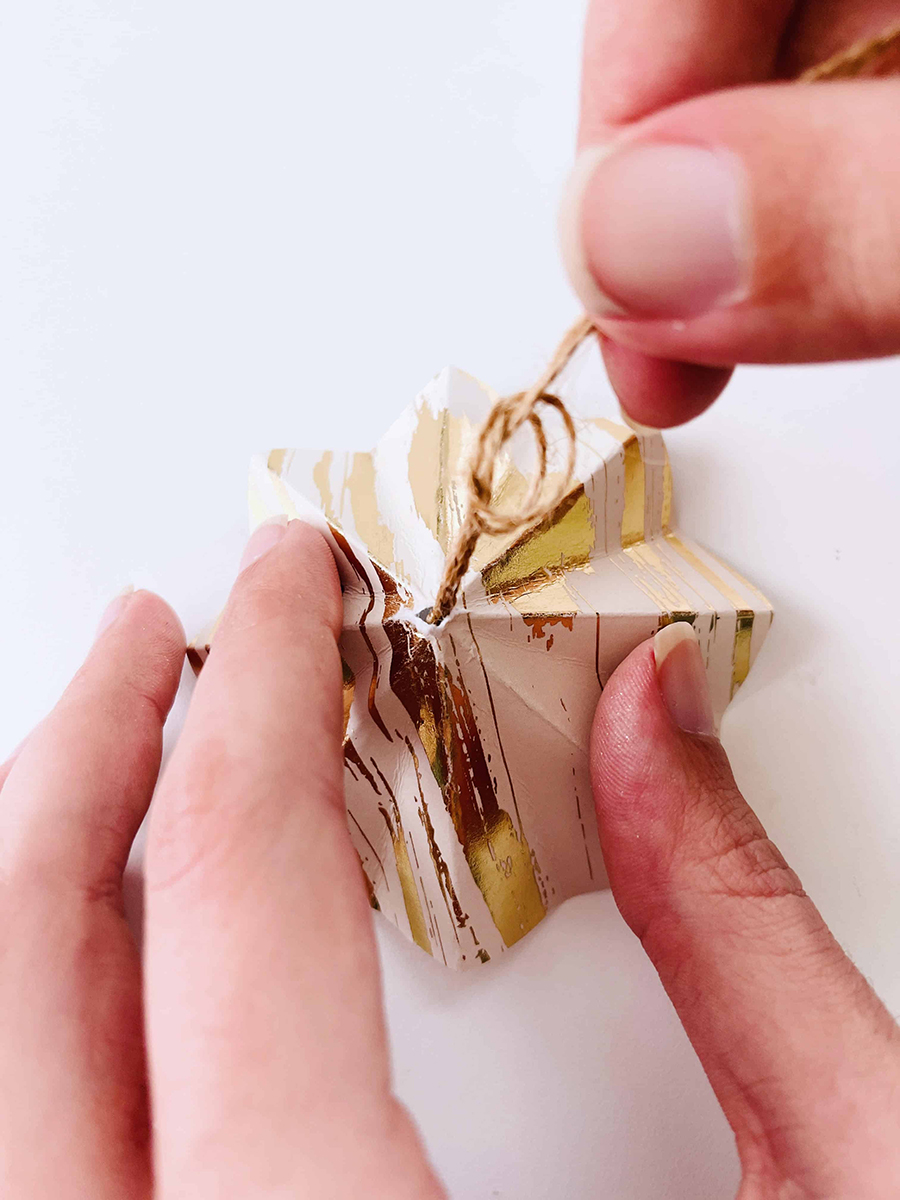
Tie a knot at the end of your twine so that it stays securely in place.


Step 4: Add a star to the top of your paper ornament
Finally, cut out your star and hot glue it to the top of the ornament to complete the look.

Looking for more holiday themed crafts? Check out our tutorial for DIY Ornaments For Christmas Tree Season and don't forget to stop by our blog for more crafty tutorials to try with your littles.

